On Thursday 29th July I was chatting with Lynn, it was so good catching up, we are study partners for our embroidery diploma.
A box of fabrics had just been delivered and she showed me each piece and I was in a happy place with her, I felt encouraged with my creativity while looking through the fabrics with her and knowing that when I am more healed I can start sewing again. Lynn shared the time when her right thumb was fractured and the knuckles were strapped up, she was able to hold the needle between her thumb and first finger and she was able to thread the eye of the needle, I realised while showing her that I cannot pinch my thumb and first finger together and so I may need to wait a little longer, unless I had someone to thread the needle for me.
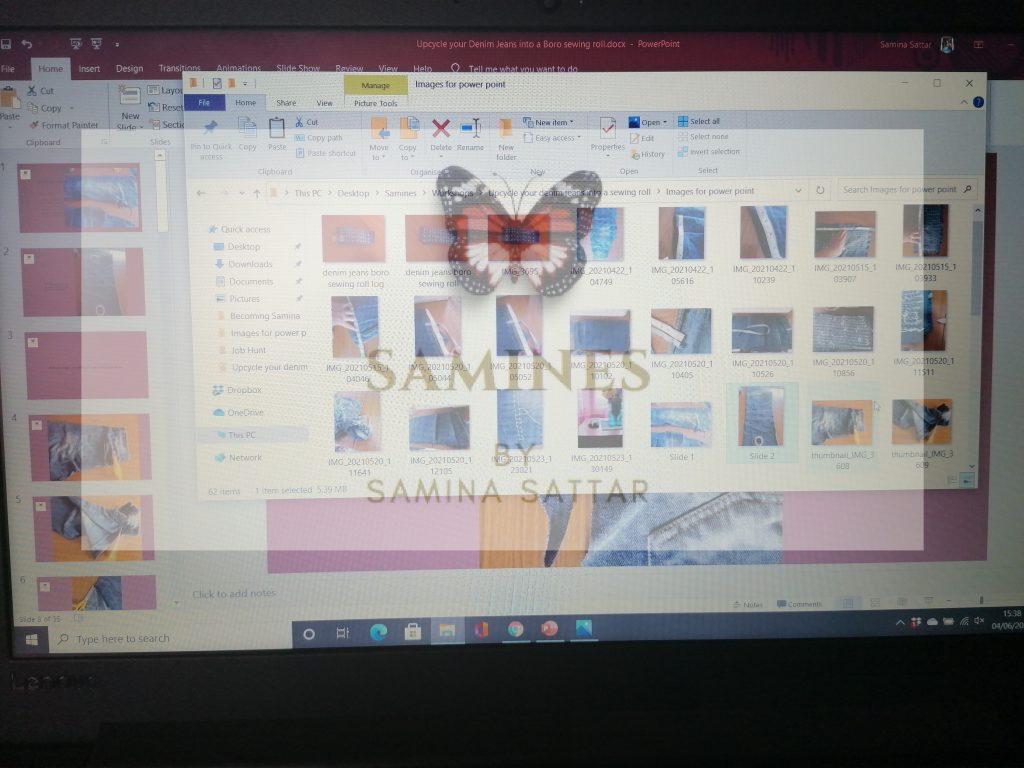
Yesterday I taught how to take a pair of your jeans, cut one side of the leg and transform into a Boro (Japanese inspired mending) sewing roll. I took mutiple photos of each stage of the creation and created a PowerPoint, in total I had 40 slides. I needed all those slides so the participants could understand what they were doing. As I am teaching a craft base subject, the more slides to show the greater the comprehension and confidence of the participants to complete the project.
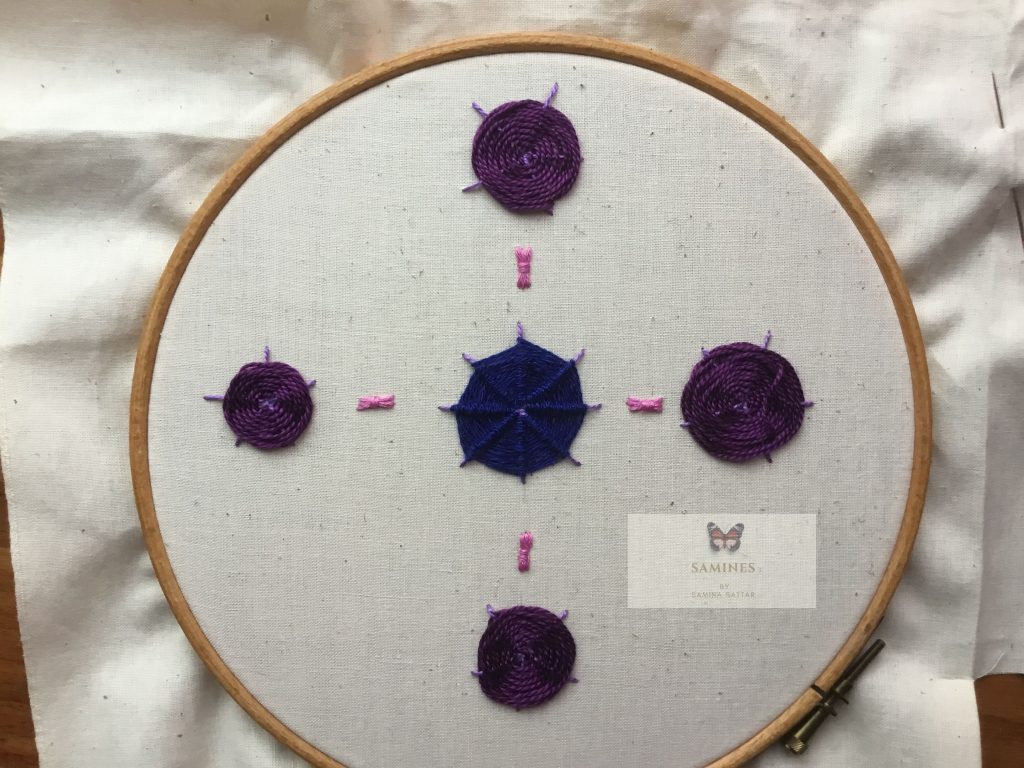
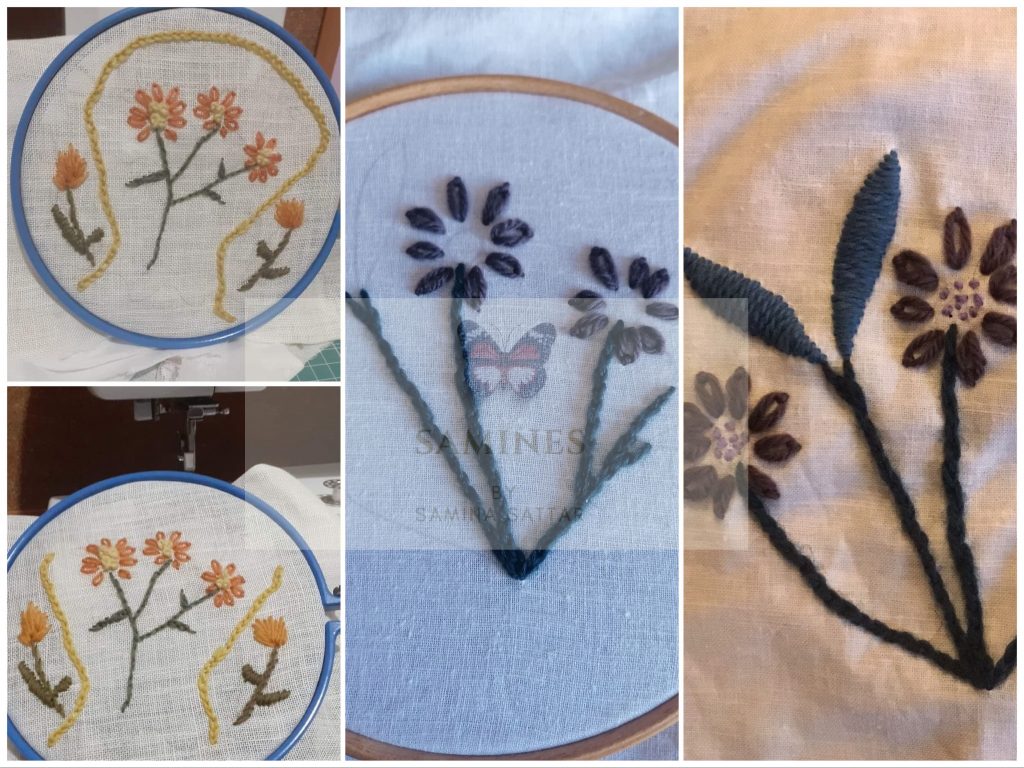
I love this piece of embroidery I am working on, it’s not named as it is a sample, I was feeling to work with purples and so glad I worked with the navy blue for the ribbed spiders web in the middle of the piece. I quite like the purple, blue and pink as a colour combination, I have more stitches to work into this sample as this piece is for module 5 for my embroidery diploma course with Centre of Excellence.
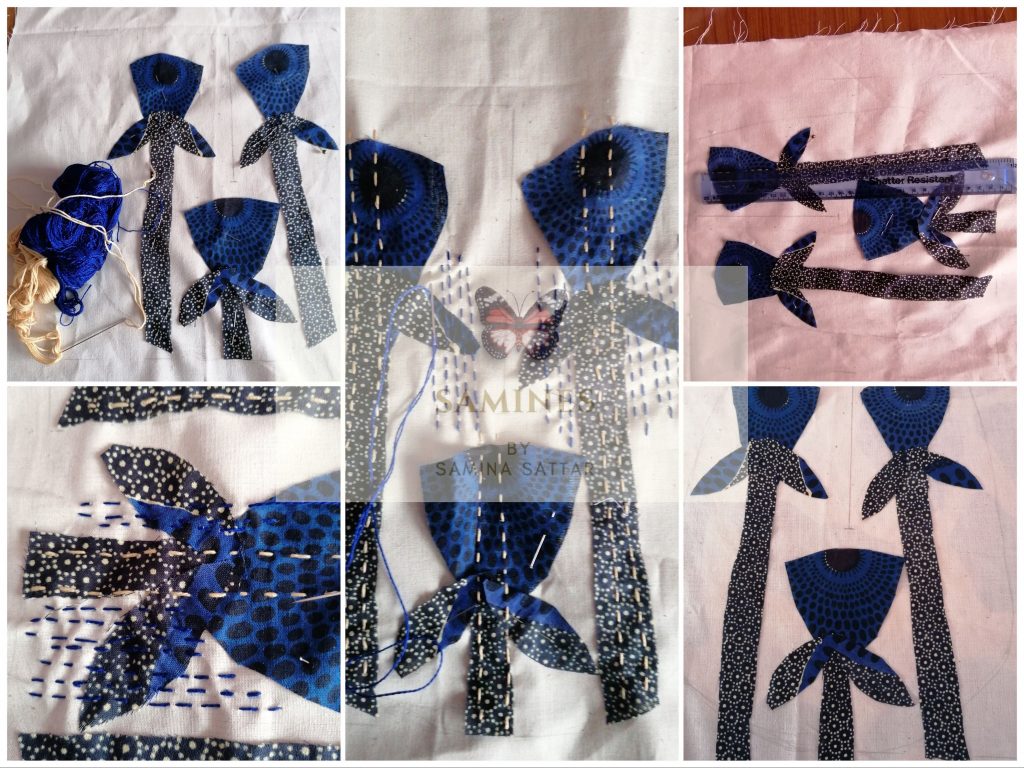
The above are stages of development with fabric and stitch of composing a design for an inspiration from a historical pocket. I had the privilege of working with IllunimatedArtsPeckham on a project to teach vulnerable adults in residential care homes how to stitch, we were able to invite three residential care homes onto the project to reach out to their residents to give them the opportunity to learn remotely online and help them through this season of isolation that we have all experienced and they have experienced more acutely with not seeing loved ones. I was the main lead in teaching, the areas covered was telling your story through art work onto the pocket and eventually using fabric as part of an applique design with stitch to create a fashionable and wearable pocket, once these pockets are made they will be collected and shown in a fashion show and later exhibited, details will follow later in the year as the project develops.
The project covered 17th and 18th century of women’s pockets, men had pockets sewn into their garments and this empowered them to happily be the breadwinner of the family, on the other hand women were not given the same equality during that period and they had no access to pockets sewn into their garments, so they were ingenious and started to make their own pockets. These pockets were worn on the inside of their garments, some women wore them under their skirts or above their skirts and under their coats and a woman did not go anywhere without her pocket tied to her waist, as this was the only means of carrying personable items, some women carried a multitude of items, anywhere from money, to journals and some women even carried their sewing kits in their pockets. At night the pockets were stored under a women’s pillow so her valuables would not be stolen as she slept.
It is fascinating to see the development of women’s pocket‘s that have developed since the 17th century to today, the source book given to research this fascinating area was The Pocket written by Barbara Burma’s and Ariana Fennetaux. In today’s fashion some women have been quite unhappy with the state of the pockets within their garments and from the research I unearthed the idea that fashion designers decided to ditch the humble pocket from women’s clothing as the seams became tighter across the body to show women’s curves depending on the decade that they lived in.
In collaboration with BlackheathEmbroiderer’s I will be the main lead again teaching how to sew an historical pocket on Saturday 27th March 2 to 4pm, the above piece will be shown in its fullness of stitch over appliqué and a new pocket that I am working on will be shown also.
Lynn and I have been working on our samples for our embroidery diploma we are completing online at Centre of Excellence. This piece comes under module 3 and I thought it was a great idea to record our progress with our stitches especially for crewel work. The development of my piece is over on the right side and you can see I have worked my crewel piece with spilt, satin and seed stitches, along with lazy daisy stitches and creating the above design. Lynn has used the same stitches and in addition she has worked the french knot and long and short stitch into her piece.
The reason why this type of embroidery has been called crewel has been due to the fact it is worked in tapestry wool, appletons is one of the brand names that sell tapestry wool skeins and you can buy an assortment of colours. I like this type of embroidery as it is quick finishing and covers a good portion of fabric in a short space of time, especially when I am designing embellishment for the jeans jacket that are customised that I sell at Greenwich market on Samines stall.
Over this past week, my study partner, (Lynn) and I have been working on a sample of Assis embroidery, we are studying for our embroidery diploma with Centre of Excellence. Module three is not a practical module, but we decided to work samples of the various topics of embroidery covered in this module, so we can learn from the process of creating a piece of embroidery.
When choosing the butterfly design we decided it would be best to follow the picture on the topic of Assis embroidery that was shown on part 1, module 3, the information was unclear on how to work the stitches, but we figured it out. When I read the section, it did mention that when the work first came into being they used long cross stitches and in recent years the cross stitches have become smaller, why this is I do not know. I decided to use a large cross stitch so I could cover the piece quickly, I practised using a range of stitch sizes in the squares that are on the butterfly design; which cross stitch size I would prefer to use. I decided not to work the smaller stitches in the negative space as the stitches would be more compact, instead I opted to work on larger cross stitches and as a result there are spaces shown between the stitches which I quite like.
With Assis embroidery the stitches cover the negative space of the design. I was to have used Holbein stitch for the outline, not realising that backstitch was not the correct stitch to use, with the Holbein stitch, running stitches are used to cover the outline of the design and then go back over with the same running stitch to fill in the gaps, this way a smoother line is used, instead of the backstitch where the same line is not as smooth.
I wanted to evaluate my embroidery sample work, as at fashion college I was to keep a paper journal to jot down my thought processes, I know in releasing this electronic journal my evaluations will be open for people to be inspired by the stages of work completed and this way my thoughts are now in the ethea of social media.