On Wednesday 29th June I had the opportunity to go to the Fashion and Textile museum for a meeting and one of the perks was to be able to visit the RSN exhibition. I visited this exhibition at the beginning of June when we celebrated the Queens Jubilee, this time I had the opportunity to attend the talk and hearing a little bit more of each piece and the development of the RSN, it’s the 150 years anniversary of the school.
One of my objectives for the day was to buy either the crewel work or silk shading book authored by the Royal School of Needlework and I settled upon the silk shading book. When I got home I quickly messaged Emma who I have met through the Art of Embroidery group on Facebook, (she has kindly agreed to mentor me in embroidery). Emma then messaged back informing me that one of her pieces is in the exhibition, (as she studied at the Royal School of Needlework) I think I may have to take myself back to the exhibition to look for it.
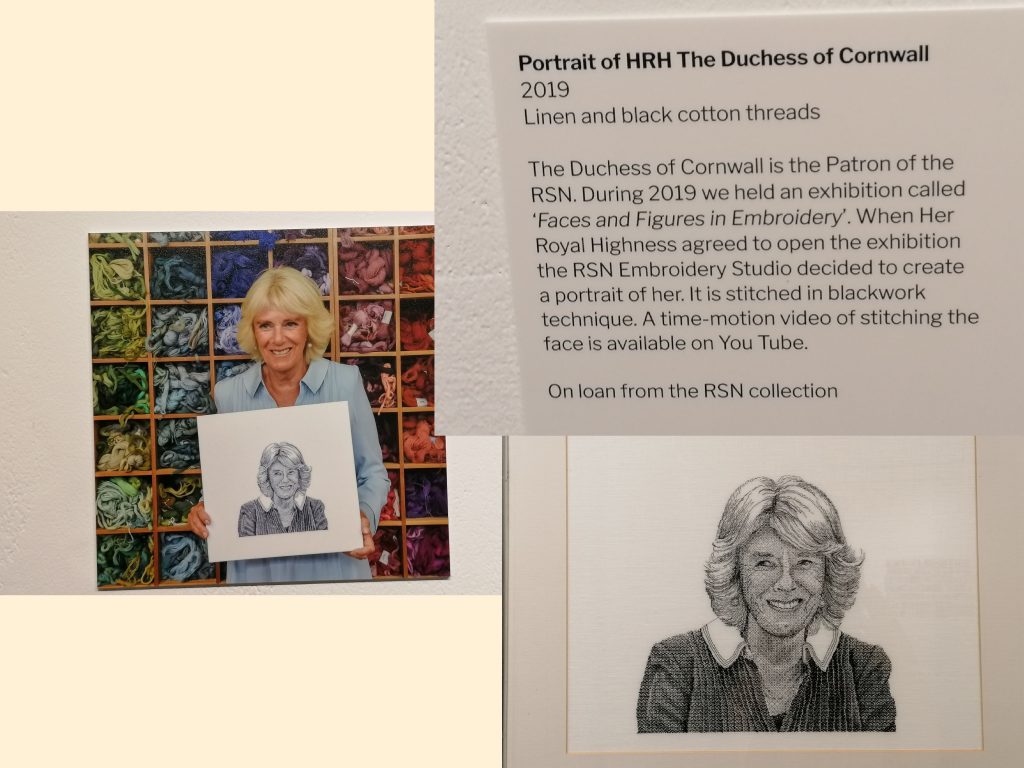
At the end of the tour we had the opportunity to go into a room that had more embroidery in as well as a continual video about stitch and one of the pieces on display was of Camilla, Duchess of Cornwall. The RSN had embroidered her in blackwork which is a technique in embroidery, that was first thought to be bought to England around the time of King Henry Vlll by Catherine of Aragon and I can understand why the RSN would stitch the Duchess of Cornwall in blackwork, as when Prince Charles comes to the throne, the Duchess will be then known as Queen Consort.