Why I created Preloved Jubliee Needlecase.
As we know it’s the Queens Platinum Jubliee this year 2022 and aren’t we happy that she has been on the throne for the past 70 years, I wonder what it’s like for her to have seen so much change in the span of a lifetime.
I knew a few months ago that I wanted to make a handmade embroidery needlecase, but I had been waiting for my wrist to improve so I could do a major piece of stitching without it hurting, I have been doing physio each day, thankfully I have improved enough in my range of movement to drop down to 5 a day, when I first started physio exercises from the consultant I was doing them 8 per day and then I carried them on when I started having hand therapy.
I looked on Instagram and Pinterest for many posts to see the sweet pieces being made with flowers and blanket stitches around the circles and the use of blanket stitch for the edges and I was conscious that if I followed suit the piece could look similar and I like to be different in my creations, this gives me the push to create new pieces. This got me thinking and I thought what could I design that was for the current day, the Queen, she’s current and it’s her platinum Jubliee this year and she came to the throne in 1952 which was around the time of The Festival of Britain and I knew that was it! I had my inspiration. Phew….
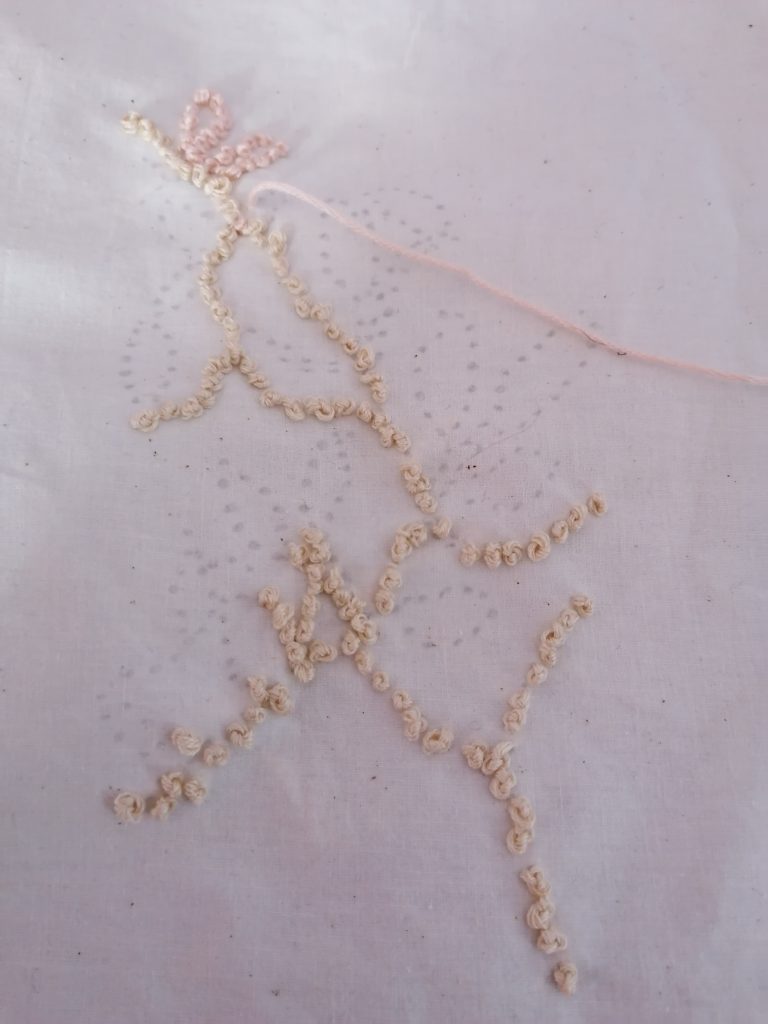
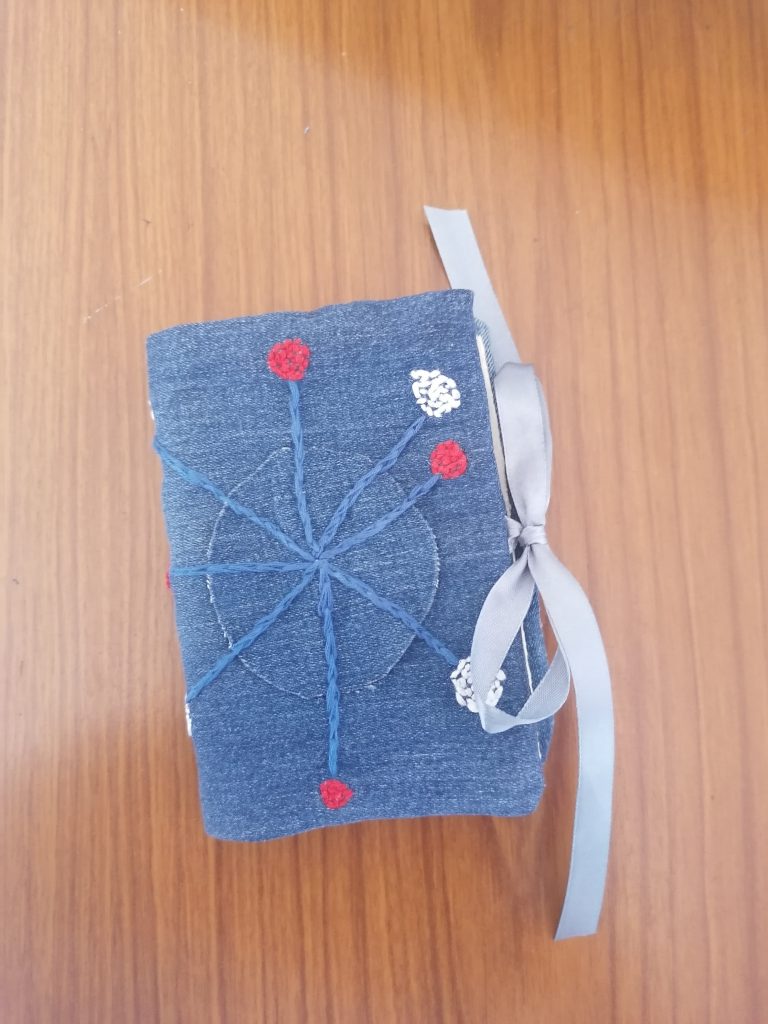
I then remembered my sketchbook from my BTEC Fashion that I worked on using Lucian and Robin Day’s designs to create my own which was part of a 50s project to develop design work in one of my classes. So I looked on the above social media accounts, well actually Pinterest and looked up their designs and I came across one with a lop sided circle with straight lines coming out, then their were circles on the end of the straight lines, but when I came to start the design, (I didn’t translate to paper, just straight onto the fabric). I realised after cutting out a circle in jeans material and placing it onto the cut pieces of the jeans legs, along with the stitches, that I had used the middle of the circle as the centre of the design and not towards the outer circle, it’s still a good design and I believe it works well for the front of the needle case. I used split stitch for the straight lines and seeding stitch to create the circles at the end of the outer lines, my colour-ways are red, white and blue as these are the colours that were given at the Blackheath embroidery group for our stitched postcard, (which I haven’t started stitching, but I have the design work done, so at least I do not need to stress about that) and these colours are the colours for the Union Jack, so instantly the project would be recognisable. On the inside if the needle case I have created an extra design feature, so when you come to stitch the piece you know that it is for the Queens Jubilee, I am so satisfied that I sewed this piece and I was able to create it.